Items Used:
Black Pipe Cleaners
Pencils
White Glue
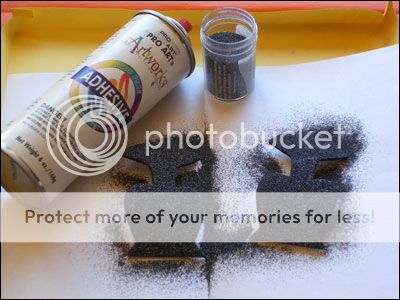
Black Glitter (I used Marcasite)
Detail Scissors
Paint Brush
Sharpie Marker
Optional Spray Adhesive

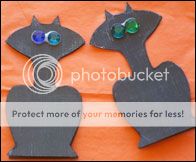
I recently saw these cute cats at the Better Homes and Gardens website. I re-created a template that turns out to be easier than theirs, but you can click and save the black cat at the bottom of this post for your use.
Cut out 2 cats for each pencil. After you make the cut out, take your marker to the white side (wrong side) and color around the edges and cut sides. This will fill in any slight differences in the two pieces. Take the marker and fill any white spots on the front of the cat too.


Take 1 cat body (working on the inside white area) and paint glue fully on the head and neck. Stop at the shoulders and run a fine bead of glue them, please check the picture guide. Take the second cat body and place and match together the white sides. You are trying to create a pocket in the main cat body for the tail and pencil.

Glitter time. If you intend to use spray adhesive, you’ll glue the eyes on after glittering. White glue folks may glue the eyes on first, use a paint brush and neatly surround the eyes with glue, and then do the overall black glitter. (check the bottom feet area of the cat-I almost glued them shut during glittering.)


Let dry. Play with you black pipe cleaner pussycat tail. Twist and spiral to your liking. Put glue on the end of the tail (about an half inch) and place into the cat body cavity. Follow with a lightly glued pencil. Let dry and enjoy!

Thank you so much for the visit....now Click and Save this cat.
Victoria


1 comment:
Cool Cats!
Post a Comment