Showing posts with label Edible Crafts. Show all posts

Wednesday, June 6, 2012

Summer Cup Cakes

A happy summer is just ahead. Enjoy these wonderful ideas for some family fun and good munching. Click the title of each photo to be directed to it's home page for more information and instructions.


Watermelon Cupcakes, idea from "Michaels"
Strawberry cake mix. Food colored icing and lots of chocolate chips:)


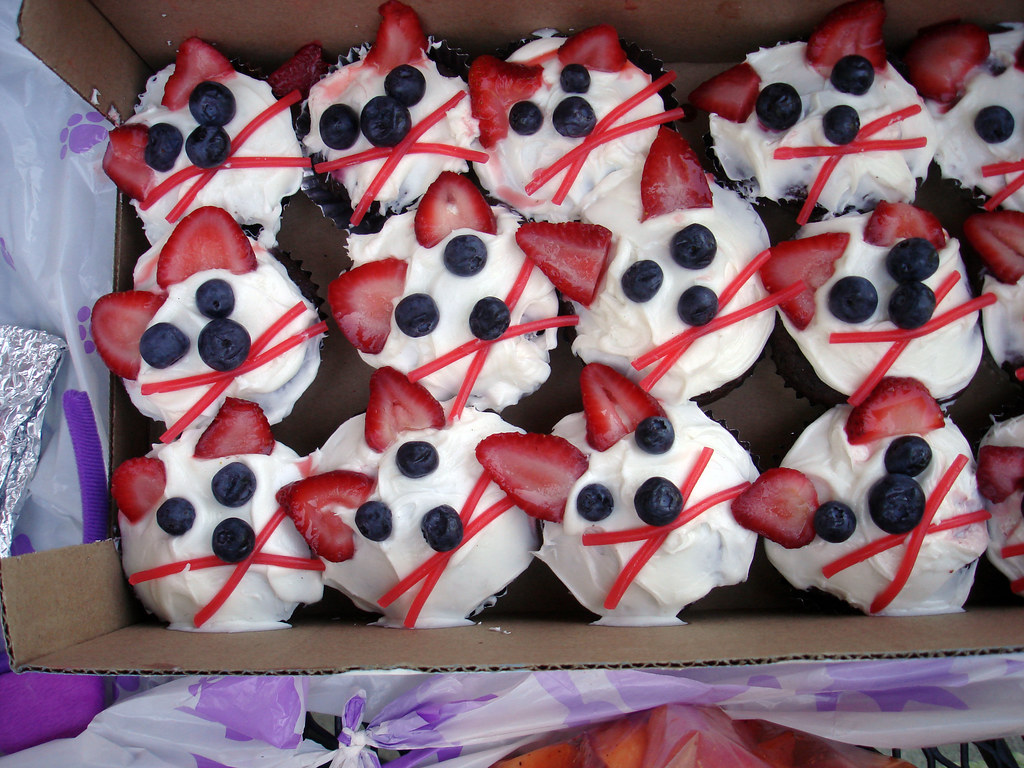
Berry Nice Catcakes
Your favorite cake mix, white icing, blueberries, strawberries and thin licorice. Yum!

All of today's cupcake photos and recipe sites have been chosen because each one is easy for kids to do with average supervision.  I'm going to make the Berry Nice Cats for our 4h of July Pool Party. Have some fun searching the web, sooooooo many fun cupcake projects for beginners and accomplished cooks.

I hope you have fun all the time,
Victoria Lavender

Thursday, February 2, 2012

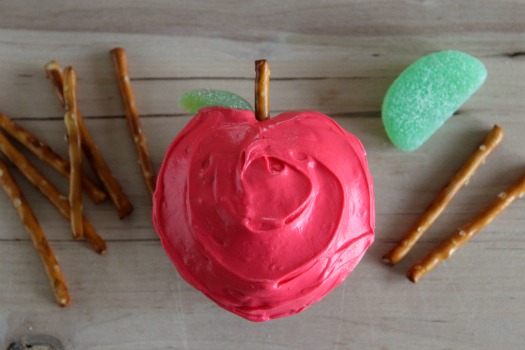
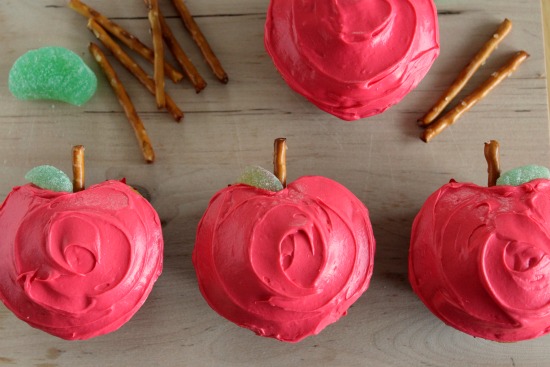
So Cool Apple Cupcakes! from Pinterest


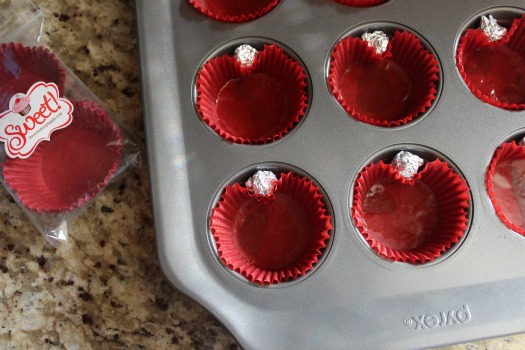
Aren't these great! Check out "Make and Takes" "Apple Shaped Cupcakes". Easy for kids. I bet we could make pumpkin cupcakes this way too!

I haven't been making crafts lately (we're house searching and home repairing these days). But I still like to look, so I'm going to start dropping cool craft ideas here at Kids 4 Crafts and at Victoria Lavender. I'll leave a quick note and leave you directions to the website where I found the new idea at. Today this idea comes from Pinterest.

I hope you enjoy the crafts I highlight. And for me it will be fun collecting ideas I can't wait to do after we settle into a new home.

Peace, Victoria

Tuesday, December 23, 2008

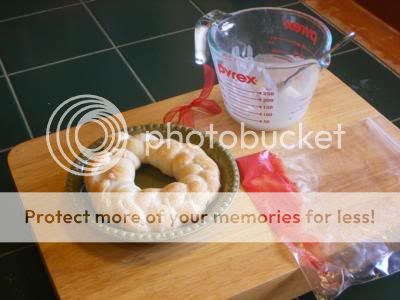
Breadstick Wreath


You'll need:
Any Brand Breadstick Dough
Confectioners Sugar
Red Cinnamon Dots or Red Food Coloring
Toothpick
Ribbon for a Bow


Open your dough. Take three pieces apart and lay out flat, pull and stretch the dough till about 12 or 14 inches long.


Braid them together. I pushed my thumb into the starting pieces to secure a bit to the cookie board. Finish the braid.


Curl into a wreath shape. Shape the ends together neatly.


Cook according to package directions.


After it has cooled, drizzle confection sugar glaze over the wreath.


If you have cinnamon dots, place three together like holly berries. I didn't have any, so I colored a little bit of the confection glaze with red bark and dabbed out my little berries. I made a red ribbon bow and with a toothpick I stuck the bow to the wreath where the ends had met. This are still dinner rolls. You've barely used much glaze and they haven't magically become sweet either, just pretty.


A few of these in a basket on a set table would look very festive, and your little cook will feel a great deal of satisfaction and accomplishment.

Victoria Swanson

Saturday, November 8, 2008

Oreo Candy Turkeys


I found these cute turkeys in Google Images and wanted to give them a try. I want to give credit to Kimi who the original photo (not shown) belonged to. I didn't find any instructions on how to make them so I wanted to give it a shot at recreating them. I made them two different ways and will describe them both. They were messy to work with and I suggest because of all the handling, if you are going to serve these to guests or children wear some gloves.


Items Needed:
Oreo Cookies or similar sandwich type cookie
Peanut Butter cups
Whoppers or Malted Balls
Candy Corn
Cake Icing
Food Coloring
Sandwich Baggies
Butter Knife


Starting with the Oreo cookies, I tried to just shove the candy corns into the cookies but that didn't work. Carefully pry open a cookie and with a small amount of icing, add some to the top half and then close the cookie again, now stick in the candy corn and they will stick like glue, the icing is the cement holding this whole thing together.


Now lets put them together. First I was using just a butter knife to apply the icing, big mistake.


As you can see by using a butter knife I was using too much icing and it was making a mess, it was hard to not get it all over the cookie.

I decided to put some icing into a baggie and clip a tiny bit off one corner.


This worked much cleaner as you will see in the next photo, was easier to control and didn't get all over the cookie. I just squeezed a small amount of icing on one side of the peanut butter cup and on the top and pressed it onto the cookie as shown below, same for the whopper. For the beak, just break off the tip of one candy corn and use icing to glue to whopper.


This is the best one of the three I made, no visible icing on the cookie for the most part. Next use the icing to glue on googly eyes and your Oreo Candy Turkey is almost complete. Just remember to remind children or guests to remove the eyes before eating. You could also make the eyes out of icing, but I was too lazy, and I just love google eyes for some reason.


If you happen to have some writing icing use that to create turkey feet on the oreo cookie base. But if you don't, you can use a baggie and food coloring to create yellow or orange for the feet. I was using this old tube of writing icing and it wasn't performing well. I suggest not using old writing icing. I hope you enjoy this craft, it was fun and the kids will love to make them and to eat them. Happy Thanksgiving.

Kemi Doran

Tuesday, September 30, 2008

Melted Chocolate Pops


Ingredients/Materials Needed:
Ziplock Baggies (because they are strong)
Lollypop Sticks (or similar workings)
Jimmy Sprinkles (or something close, colored sugar, dots, smashed candy bits etc…)
Chocolate Bark (found in the cooking aisle in chocolate or white)
(Next try I’ll use a Hershey Bar)
Non-stick surface (I like using Release Foil, you could also use waxed paper, lightly
greased cookie pan…)
Cutting Board
Cookie Pan (or large plate—this is a base to carry the pops to the refrigerator later)
Scissors
Microwave


Set up your work area and your toddler. Get you work base together. I used a cookie tray and lined it with Release Foil. Place a few lollypop sticks on the foil - leaving yourself room to work. My first round I made 5 pops. Keep the sprinkles nearby.

Shave or cut up your bark and put it into a ziplock baggie (that you do not lock during heating) Let your toddler use a butter knife to help. Heat the chocolate baggie in a bowl or plate. Start with 45 seconds. Knead the chocolate through the baggie to help it melt. Heat in little increments till you feel it’s just right. Remember you don’t want to heat it so fast that you melt the baggie (if you are using white chocolate, you could add a few drops of food coloring and knead it through).


Place your toddler or other type of curtain crawler comfortably at the table so you can both work with the chocolate. Cut a tiny piece off the bottom corner of the baggie so you can squeeze out the chocolate. Tiny hands with yours, squirt a spiral of chocolate over the top area of the lollypop sticks, back and forth, swirl and cross over. About 2 inches across and up to a half inch thick puddle.


After all the pops are created, let your little one sprinkle the Jimmie’s or other decorative candy topping over the pops. This is the part they will most likely love.


Now its time to let the lollypops cool in the icebox, half hour or so will do. The longer they stay in the cold—the harder they’ll be. Chocolate Bark will re-harden nicely and is often used a decorative accent that will hold up well in room temperature. I will try other chocolate sources to see what else might work for this fun project.


Later, I went back to make pops from Ghirardelli Intense Dark. OMG! These taste good! They hardened well, not as room temp viable as Bark. I read somewhere that you can add paraffin wax to candy bar chocolate to harden better. So, later, someday, I’ll do this again! :)


If you plan to wrap these as gifts, get them real cold and hard first. Take thinner baggies and cut out a wrapper (see picture) place over the pop and secure with any favorite ribbon.


Victoria Swanson
Related Posts Plugin for WordPress, Blogger...